
Part 24: A Top With Breadboard Ends
As the work on the Greene and Greene table continues, it's time for the solid wood top. Here you can see how a few details can make a solid wood top stand out. Join Bryan as he shows how to add a breadboard end to a glued up panel.
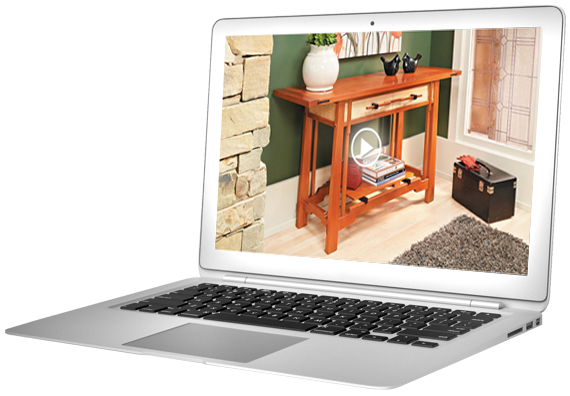
Greene & Greene Hall Table

Part 1: Laying Out a Mortise

Part 2: Roughing Out a Mortise

Part 3: Cleaning Up a Mortise

Part 4: Routing Stopped Grooves

Part 5: Completing The Legs

Part 6: Stretcher Layout & Cutting Tenons

Part 7: Shaping the Stretchers

Part 8: Adding Upper Rails

Part 9: Shaping the Spindles

Part 10: Making the Front and Back Panels

Part 11: Assembling the Frames

Part 12: Completing the Base

Part 13: Making the Shelf Rails

Part 14: Adding the Shelf Rails

Part 15: Preparing Parts for the Shelf

Part 16: Basics of Gluing a Panel

Part 17: Completing the Shelf

Part 18: Installing the Shelf

Part 19: Installing a Drawer Guide System

Part 20: Building Rock-Solid Drawers

Part 21: Adding False Fronts

Part 22: Shaping Drawer Pulls

Part 23: Installing Drawer Pulls
Part 24: A Top With Breadboard Ends

Part 25: Decorative Cloud Lift Plugs

Part 26: Completing The Top

Part 27: Applying The Finish
